Application environment
Remote control switch, receiver module, motorcycles, automobile anti-theft products, home security products, electric doors, shutter doors, windows, remote control socket, remote control LED, remote audio remote control electric doors, garage door remote control, remote control retractable doors, remote volume gate, pan doors, remote control door opener, door closing device control system, remote control curtains, alarm host, alarm, remote control motorcycle remote control electric cars, remote control MP3.
Remote control switch, receiver module, motorcycles, automobile anti-theft products, home security products, electric doors, shutter doors, windows, remote control socket, remote control LED, remote audio remote control electric doors, garage door remote control, remote control retractable doors, remote volume gate, pan doors, remote control door opener, door closing device control system, remote control curtains, alarm host, alarm, remote control motorcycle remote control electric cars, remote control MP3.
Receiver module parameters

1. Product Model: MX-05V
2. Operating voltage: DC5V
3. Quiescent Current: 4mA
4. Receiving frequency:315Mhz
5. Receiver sensitivity:-105DB
6. Size: 30 * 14 * 7mm
Technical parameters of the transmitter module
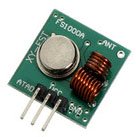
1. Product Model: MX-FS-03V
2. Launch distance :20-200 meters (different voltage, different results)
3. Operating voltage :3.5-12V
4. Dimensions: 19 * 19mm
5. Operating mode: AM
6. Transfer rate: 4KB / S
7. Transmitting power: 10mW
8. Transmitting frequency: 315Mhz
9. An external antenna: 25cm ordinary multi-core or single-core line
10. Pinout from left → right: (DATA; VCC; GND)
An example:
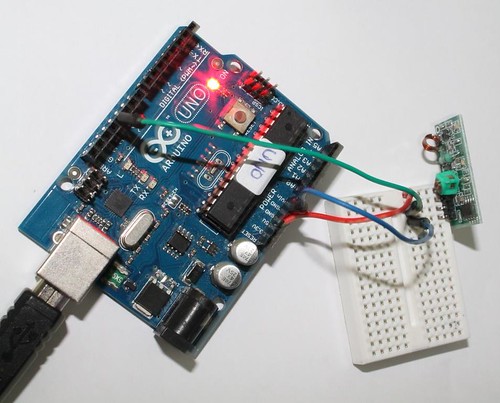
In this example, receiver and transmitter modules are connected separately to two Arduino boards. The transmitter data pin is connected to Pin 12 of Arduino and the receiver data pin is connected to Pin 11 of Arduino.
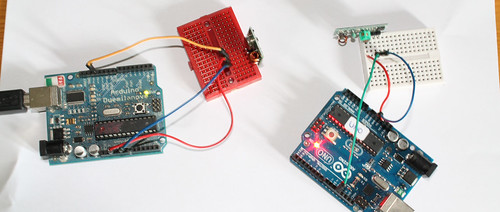
Data pin of receiver module to Pin 11 of Arduino.
Please note that there are two separate Arduinos for each module.
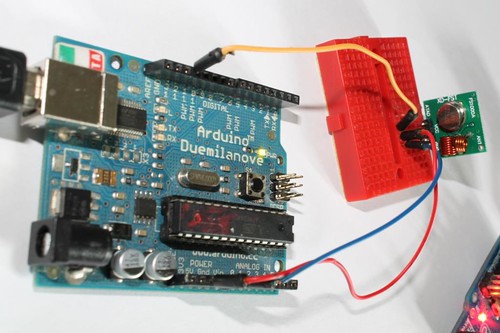
Connecting transmitter module to Arduino:
Sketch:
| 12345678910111213141516171819202122 |
|
Sketch:
| 12345678910111213141516171819202122232425262728 |
|
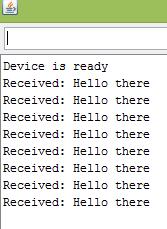
Output:
The transmitter sends a string “Hello there” and the receiver receives it and displays on serial monitor.
Related links:

No comments:
Post a Comment